
Time to test that you can create an app in your environment.
Create an Expo app
You create new Expo applications with this command:
expo init newAppName
You are going to be building a tool to help students pick courses without time conflicts, so creat an app with an appropriate name, e.g.,
expo init Scheduler
Some sites recommend avoiding hyphenated app names for React Native. Use TitleCase.
Expo will ask what template you want to use. Choose blank.
The install downloads a ton of files. You may get warnings about missing peer dependencies. These can be ignored.
The Expo CLI is updated frequently -- often several times a week. When you run Expo, it will print a message if a new version is out. Update when asked to. On MacOS, If the version is not updated after installation, it may be because you are running zsh but the updated links are in ~/.bash_profile. You can fix this by adding source ~/.bash_profile to the start of the file ~/.zshrc.
Start the deployment server
To see if everything is working so far:
cd Scheduler
expo start
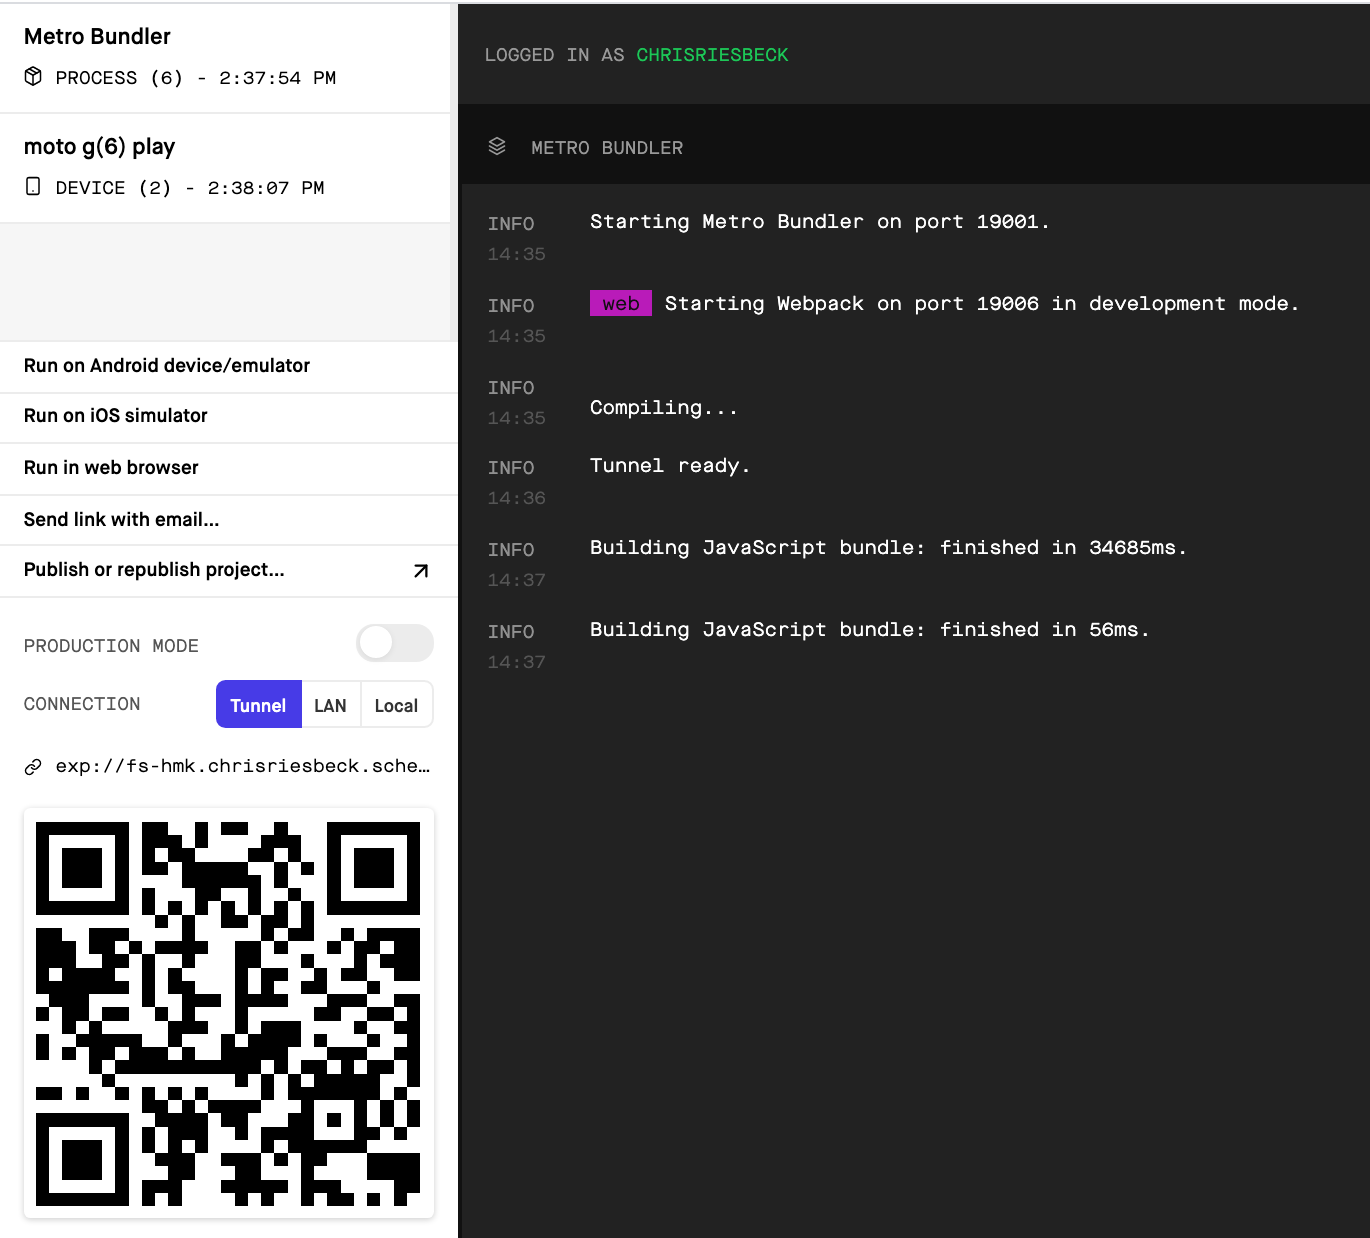
This starts a local web server that manages deployment of the app. Eventually, your default browser should open the Expo deployment web page showing the Metro Bundler. On this page, you can create and deploy your app to devices, simulators, or to a web page. Menu of options and a large QR code are on the left. Console messages from Expo are on the right.
Run the web version
One option on the left is Run in web browser. This tells the Metro Bundler to create your app as a web page. This is an actual web version of your app, not a simulation of a device running your app. This is one of the features of Expo: the ability to deploy to all three major platforms.
Click Run in web browser. After twenty seconds or so, a new browser window should appear with the text "Open up App.js to start working on your app!"
Deploy to a device
Now test deploying to a real Android or iOS phone or tablet. The device must be on the same local network as your development machine. Whichever method you use, you should end up seeing the same "Open up App.js to start working on your app!" text on your device.
By default, the deployment web page will use the local area network (LAN) to deploy. This is the fastest method but I find I usually have to switch to "Tunnel". Do this before doing the methods below, since it changes the link that needs to be used.
Scan QR code with Expo Client
On an Android device, you can open the Expo client, click Scan QR Code, and point the camera at the QR code on the Expo deployment page. Scroll the page if the entire QR code is not visible. When the code is recognized, your app will be downloaded.
Scan QR code with camera
Apple required the removal of this feature in Expo Client on iOS, but on both Android and iOS, you can scan the QR code with your normal Camera app. This will raise a notification with a link to Expo. Tap the link to open Expo and download the app.
Send link in email
Finally, you can select "Send link with email..." on the Expo deployment page. When the email arrives, open it on your device and click the link to open Expo and download the app.
Modify the app
Now do what the app says: open App.js in your code editor. Make the following changes to the code. The edits change the wording, make the background blue and the text white, and increase the font size to 32pt.
import React from 'react';
import { StyleSheet, Text, View } from 'react-native';

export default function App() {
  return (
    <View style={styles.container}>
    <Text style={styles.textStyle}>Welcome to my app!</Text>
    </View>
  );
}

const styles = StyleSheet.create({
  container: {
    flex: 1,
    backgroundColor: '#00f',
    alignItems: 'center',
    justifyContent: 'center',
  },
  textStyle: {
    color: '#fff',
    fontSize: 32,
  }
});
Despite appearances, there is no HTML or CSS here. View and Text are native user interface widgets.
React Native, and hence Expo, use CSS-like forms to style the native widgets. StyleSheet is a React Native class that lets you organize styles by names in a JavaScript object. When deployed, these pseudo-CSS styles get translated into the appropriate commands for iOS, Android, and the web. For simple styling, your CSS intuitions should work, but don't expect all the bells and whistles of real CSS.
Although you can specify styles with JSON in a component's style property, it's more common to centralize styles in a single StyleSheet.create() at the end of the component file, as shown in the example above.
More on React Native styling.
After saving these changes, you should see them in both the web page and on your device.
If the app does update automatically on your device, there are several ways to cause a reload:
- Swipe down to show a bar with the name of your app and a reload icon.
- Shake the phone. This should bring up a page with a reload option.
- Use the gesture for your device for switching applications to return to the Expo Client. Use the QR code option to reload your app.
Create a Github repo
Now that your app shell is running, it's time to stop and create a repository for it. Stop Expo in the command shell with control-C.
Create a repository on Github for your app. Follow these instructions to create a repository for existing code. As noted there, do NOT create the default README or .gitignore files. They will be wrong. expo init already created the correct files.
This repository does NOT need to be in the course organization. It does need to be public.
Be sure the code has been pushed to Github. Make sure node_modules is NOT on Github.
Report: Initial app
If the app is running on both web and device, commit all changes and push to Github. Enter the link to your last commit for this task in the report spreadsheet (link on Canvas).